
Best Video Editing Tools in 2026: Costs, Captions & Workflows
A practical shortlist for social clips, interviews and longer edits, with a small test to run before you pay for another tool.

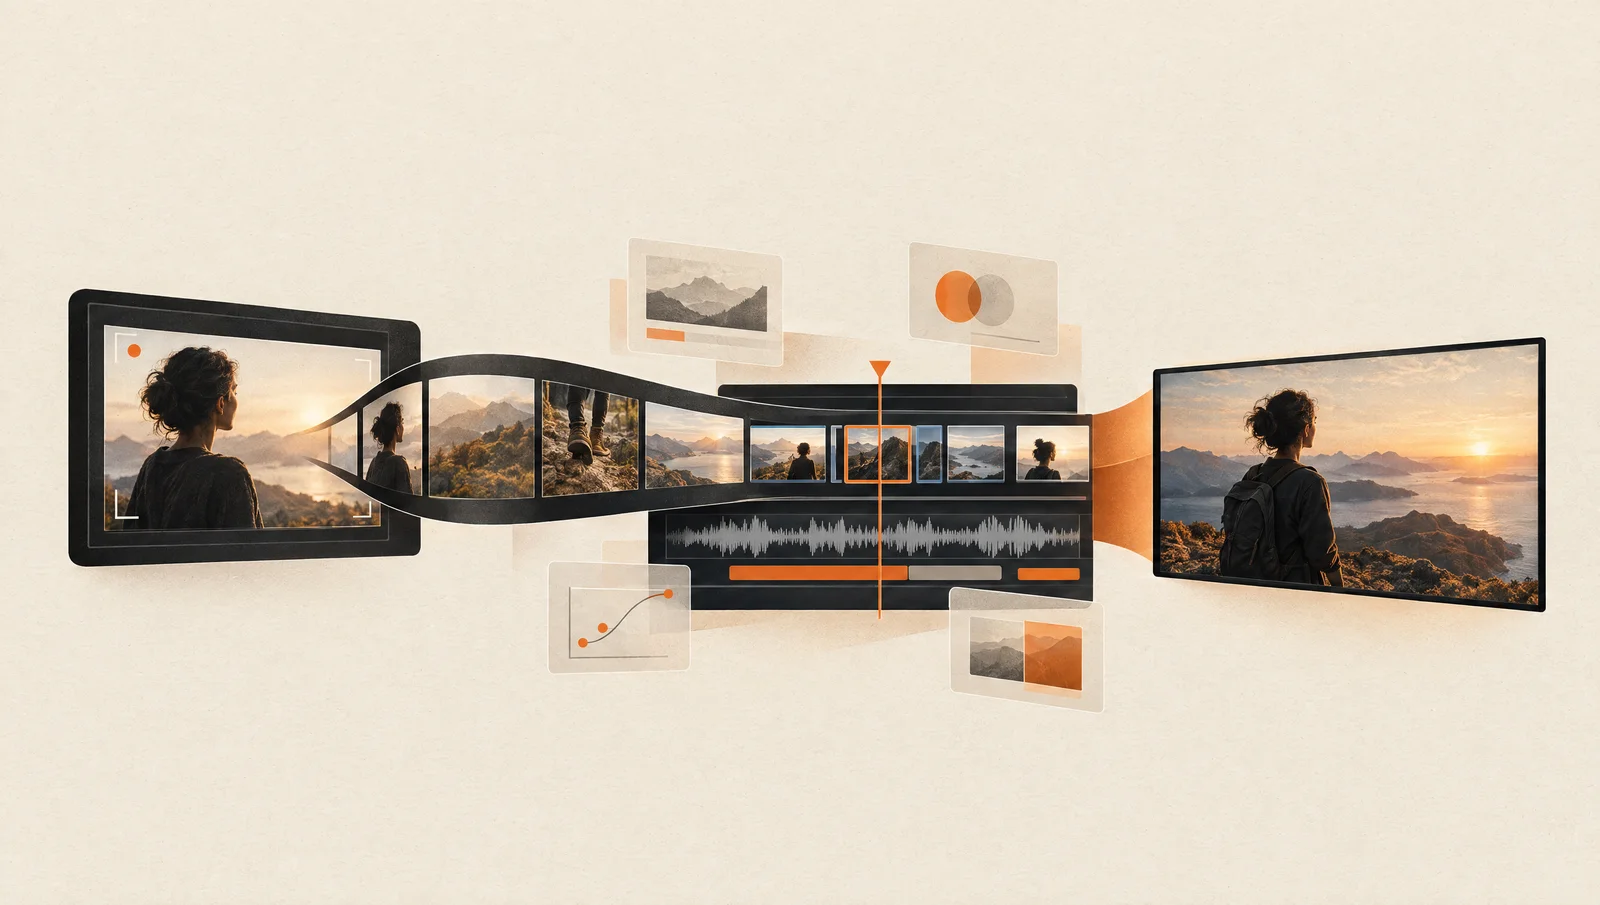
A tool can look impressive in a demo and still be awkward with your footage. Start with the recording you need to finish: a short customer answer, an interview or a product walkthrough. Then choose an editor around the part of that job that takes the most work.
For a small team, I would start with a shortlist of five: CapCut, Descript, Adobe Premiere Pro, DaVinci Resolve and Final Cut Pro. They cover different editing approaches. You do not need to subscribe to all of them.
How we chose: This is an editorial comparison based on vendor documentation checked September 22, 2026. We have not run a controlled speed or quality test across these editors. The workflow suggestions below are our judgment; the downloadable worksheet helps you test them with your own material.
Choose around the video you need to finish
Pick the recording closest to yours.
Test the finished clip on your phone.
Start by evaluating CapCut.
Correct one name in the captions. Check that the words stay clear of faces and that your chosen export has no unwanted watermark.
Read the comparison →A starting shortlist based on the task you select, not a performance score. The five-editor comparison below covers every option.
Five editors worth comparing
CapCut for a captioned social clip
If the job is a short answer filmed on a phone, start by trimming the recording and correcting its captions. Then export a vertical version. CapCut documents automatic captions and lets you correct the words and their appearance. That gives you a concrete first exercise: fix a name, move a subtitle away from a face and export the clip.
Check the finished file before paying. A feature shown in a tutorial may depend on the version or plan you use. Confirm whether your chosen assets and export settings require payment. CapCut caption documentation.
Descript when the edit starts with the words
An interview often needs a tighter answer before it needs another visual effect. Descript supports text-based editing: you work with a transcript to shape the recording. Its product documentation also lists transcription and captions.
Try removing a repeated sentence, then listen across the join. Keep any hesitation that changes the speaker's meaning. A readable transcript is only one part of a finished video; watch the picture as well. Descript video editing.
Premiere Pro for a detailed production timeline
Put Premiere on the shortlist when your editor needs control over individual cuts and several media layers. Adobe documents timeline editing, text-based editing, color tools and audio tools in the same application.
The practical test is the handoff. Ask the person who reviews your videos to request one change, then make that revision and export again. Include the commitment term when comparing subscription costs, and check the business plan if multiple people need licenses. Adobe Premiere.
DaVinci Resolve when finishing is part of the job
Resolve combines editing with color, visual effects and Fairlight audio tools. Blackmagic offers a free version and a paid Studio version. That makes it worth evaluating if you want to keep the cut and finishing work in one application.
Use footage from your own camera in the trial. Check playback, audio and export on the computer that will do the work. Confirm which required features belong to Studio before deciding the free version covers your project. DaVinci Resolve.
Final Cut Pro for an Apple-based editing setup
Final Cut Pro runs on Mac and iPad. Apple offers a one-time Mac purchase as well as access through Apple Creator Studio; the two options do not include identical entitlements.
Choose the device first, then verify its requirements and the features you need. If someone else will finish your edit, test the project transfer with that person before committing. A smooth export does not prove they can reopen the editable project. Final Cut Pro options and requirements.
Compare the cost of finishing your project
A monthly price leaves out several useful questions. Can you export the resolution you need? Does the plan cover your amount of footage? Can a colleague continue the edit, or will you be handing over a flattened video?
| Check | What to verify in your sample project |
|---|---|
| Finished file | Export the required resolution and check for watermarks. |
| Captions | Correct names and numbers; inspect placement on a phone. |
| Usage allowance | Check media, transcription or generation limits for the work you expect. |
| Commitment | Compare the full contract term, not only the displayed monthly amount. |
| Handoff | Have the next editor open the files they will actually receive. |
Use the vendor's current plan page when you buy. Price and entitlement changes can make a copied pricing table stale.
Run one small test before switching editors
Use the same short recording in your current editor and one alternative. Include a sentence you want to remove, a name the captions must spell correctly and a shot you need to crop. Those details make the comparison useful.
- Cut the unwanted sentence. Listen before and after the join.
- Correct the captions, then watch with the sound off.
- Export the format you need and open it outside the editor.
- Give the project or finished file to the next person in your workflow.
Record where you needed help, what required a paid feature and how many corrections remained. Keep upload and render waiting separate from hands-on editing time. This is your test, not a promise that one editor is faster for everyone.
Test your shortlisted editors with the same footage. Record editing time, caption corrections, export quality, and total cost before choosing.
Download the video editor comparison worksheet.
Record a caption comparison you can check
Download the caption experiment record (CSV). Use one recording you have permission to upload and two editors you can already access. Save the same source file, language, clip boundaries, tool version and plan for both attempts. Check the spoken words against the recording before treating a transcript as the reference.
Count incorrect, missing and extra words before correction; record spelling and timing repairs separately. Time hands-on correction separately from upload, processing and export waits. Keep the raw captions and corrected exports. Start every result at “Not run” and report this clip’s outcome with its limitations; one recording cannot establish a universal winner.
See why a cut changes the rest of the timeline
One cut. Two timelines.
We made this silent, synthetic timing exercise with FFmpeg: a 12-second source contains a four-second pause. Removing that pause produces an eight-second edit. The final card moves from second eight to second four. No client footage or AI-generated speech is used.
Before · 12 seconds
0–4sPause
4–8sFinal card
8–12s
After · 8 seconds
0–4sFinal card
4–8s
Same time scale. Remove the four-second pause and move the final card four seconds earlier.
This demonstrates a timeline change, not automatic speech editing or a HyperFrames benchmark. The reproducible script and timing table are included so you can inspect the actual operation.
Download the example videos, script, and timing table (ZIP)The same check matters in a real interview. If you remove a pause but leave an explanation graphic at its old timestamp, it can appear after the relevant sentence. Review the exported video with the picture and audio together.
Where generated visuals fit
An illustration can explain an abstract step, and a generated shot can provide material for an example. Keep those uses separate from evidence of a customer's work or a product's actual interface.
For this guide, the comparison controls use ordinary page text so labels remain readable and editable. The timing exercise uses reproducible sample files. A decorative hero sets the scene; it does not establish how any editor performs.
Before adding another specialist tool, name the missing asset. Do you need a visual explanation, a voice track or a short excerpt from a longer recording? Try the relevant part of the workflow, then check the result inside your finished edit.
Long-form video editing with Codex: our HyperFrames workflow
Our local workflow uses Codex to coordinate files, transcript edits and graphics in a HyperFrames project. We documented a review export of about nine minutes and forty seconds, with timed graphics and audio checks. That is evidence of one working process, not a comparison against the five editors above.
This route suits someone willing to manage project files and inspect renders. Open the setup notes below if that is the workflow you want to explore. Keep the original recording and review proposed cuts before using the result.
Read the full Codex setup and editing workflow
These setup notes describe our September 16 workflow. Check the linked project documentation for current commands and requirements.
For a recorded lesson, founder interview or screen-led tutorial, we now use Codex to coordinate the edit in a local HyperFrames project. You describe the result you want; Codex works with the footage, transcript, cutting scripts and editable motion graphics. HyperFrames renders the composition, GSAP animates its visual elements, and FFmpeg handles supporting media operations.
The starting point is Nate Herk’s HyperFrames Student Kit. Our setup combines that kit with ElevenLabs Scribe for transcription and optional Higgsfield imagery. The useful change is that editorial instructions, cut decisions and visual revisions can stay in one project instead of being reconstructed for each new export.
What we have actually done: our internal project produced an approximately 9-minute-40-second review export at 1280 × 720, with timed graphics and preserved approved audio. Its verification record includes spoken-anchor checks, video decoding and selected frame inspection. That establishes a working production workflow; it does not mean every frame has had a final editorial sign-off, or that an entire production finishes in one prompt. We still inspect the picture, listen to the joins and revise.
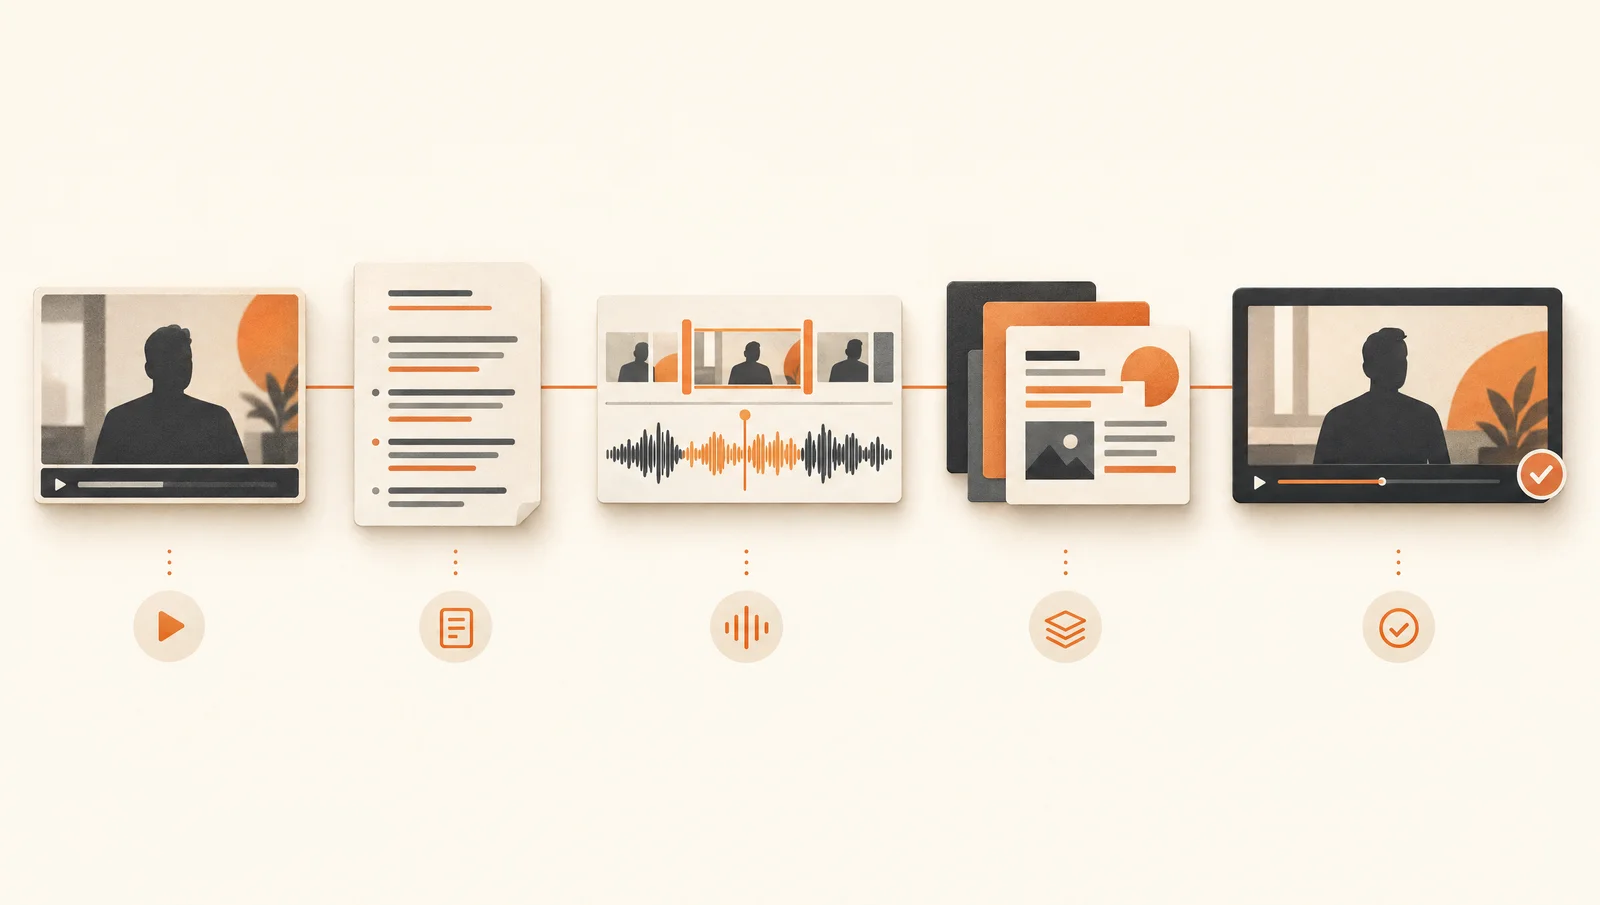
Start with Nate Herk’s tutorial and resources
Watch Nate Herk’s full video-editing tutorial on YouTube, then keep the kit open alongside your own project. The video introduces the approach; the repository’s current instructions are the reference for setup and commands.
- Get the HyperFrames Student Kit — the reusable editing skills, templates and example projects.
- Follow the installation guide and choose your tools and API services.
- Work through the complete editing process — including transcript timing and draft review.
- See the public showcase for Nate’s short-form examples; these are separate from our internal long-form edit.
The kit supplies reusable building blocks. Choose the ones that explain your subject, and test them with your footage and text.
Set up the same foundation
Install Node.js 22 or newer, Git, FFmpeg with ffprobe, and Chrome or Chromium. Then run:
git clone https://github.com/nateherkai/hyperframes-student-kit.git
cd hyperframes-student-kit
npm ci
npm run setup
npm test
npm run new-video -- my-video
Open the repository folder as a project in Codex. Place a copy of your recording at video-projects/my-video/assets/raw.mp4; keep the original unchanged. The Codex skills live in .agents/skills/, and $edit-video is the starting workflow.
For a first installation check, use npm run demo and follow the README’s preview and render steps. That starter does not require paid transcription or generated assets. Codex access and any external services have their own usage terms and costs.
Give Codex an editorial brief
Copy this prompt and replace the path and subject:
Use $edit-video for video-projects/my-video/assets/raw.mp4.
Create a landscape long-form edit about [subject] for [audience].
Preserve my meaning, useful examples and original recording.
Inspect the source and reuse a verified word-level transcript if available.
Otherwise propose ElevenLabs Scribe transcription and its cost first.
Trim dead air conservatively and show me mistake cuts in context.
Use the retimed transcript after each cutting stage.
Plan graphics around exact spoken phrases. Keep faces and demos visible.
Use a consistent visual style, readable text and purposeful motion.
Use existing assets first; propose any Higgsfield assets and credit cost.
Preview, render a draft, check frames and audio joins, then revise.
Keep a verification note and return the MP4 plus editable project.
The specific direction matters. Explain the intended audience, passages that must stay, visual style and target format before asking for effects.
The editing sequence we use
| Stage | What Codex coordinates | What to check |
|---|---|---|
| Understand the recording | Inspect media and obtain word-level timestamps | Correct names and technical terms; preserve the original. |
| Tighten the speech | Remove excess silence, then propose mistakes or retakes for review | Keep intentional pauses and repetition that help the explanation. |
| Rebuild timing | Align the transcript with the latest cut | Never use the original timestamps against shortened footage. |
| Plan the story | Map key ideas to spoken phrases and visual beats | Each visual should explain something rather than cover the speaker. |
| Build graphics | Assemble editable HyperFrames scenes and GSAP animation | Check type size, contrast, face placement and screen-recording detail. |
| Review and export | Preview, render a draft and inspect the encoded result | Listen for abrupt joins and check transitions, clipping and audio/video sync. |
For our workflow, Higgsfield supplies optional supporting imagery; exact lettering and layout animate locally. That lets us revise wording and timing without regenerating an entire scene. Nate’s kit also describes Kie.ai as an optional generation service. You do not need both providers to start.
Our selected transcription service is ElevenLabs Scribe. Configure your own credentials using the tools guide, keep them out of chat and version control, and approve media uploads and paid calls intentionally. An existing suitable transcript can avoid a new transcription request.
Preview before you call it finished
From the repository root, check the project:
node scripts/preflight.mjs video-projects/my-video
cd video-projects/my-video
npx hyperframes lint
npx hyperframes preview
Review the sequence in Studio. Stop the preview when finished, then render a draft:
npx hyperframes render --quality draft --output renders/draft.mp4
For projects with anchored external sub-compositions, the workflow guide also documents validate-beat-sync.mjs. Inline compositions need manual timing review. A clean validator result cannot tell you whether a joke lands, an explanation makes sense or an audio cut sounds natural.
Watch the export and listen through the joins before final delivery. Save what passed and what still needs work in VERIFY.md. Once the long-form master is approved, use the kit’s short-form workflow to prepare separate vertical excerpts, with new caption and crop checks.
Best fit: teams comfortable working in a local project who want repeatable talking-head, tutorial and motion-graphics edits. Traditional editors remain useful for hands-on timeline work, advanced grading or specialist finishing. Start with one recording and judge the exported result before changing your whole production process.
Save the complete workflow notesMake the choice after the export
Choose the editor that lets you finish your actual recording and hand it over cleanly. Keep the tool you already know if the alternative does not solve a specific problem. Add another service when a real project shows you what is missing.
For the rest of the publishing process, see our AI blog writing guide and workflow automation guide.
Use the video editor comparison worksheet to compare your test exports before choosing an editor.
FAQ
Quick answers about this guide and how to put the idea into practice.
Which video editor should a small team try first?
Choose around the recording: evaluate CapCut for captioned social clips, Descript for transcript-led edits, or a timeline editor such as Premiere Pro, DaVinci Resolve or Final Cut Pro for detailed assembly. Test your own footage before buying.
Do I need a paid editor?
Run a complete sample export before deciding. Check the resolution, watermark, caption and project-handoff requirements you actually need. A free download alone does not establish that your finished project can be exported on the free plan.
Can AI make the whole edit for me?
AI can assist with parts of an edit. You still need to check the meaning of each cut, caption accuracy and the finished export. This guide does not establish that any product can deliver your complete project without review.
Where does the Codex workflow fit?
It is an optional local workflow for people comfortable managing files, scripts and renders. The expandable section preserves our setup notes; it is not a cross-vendor editing benchmark.